Operation steps:
1 Turn on power
2 Select correct test force by load change hand-wheel from 0.01 to 1kgf
3 Set conversion scale (HRA / HRB / HRC, etc) as you needs
4 Set limit (quality judgment) if you need this function
5 Put sample on the XY table
6 Rotate focus hand-wheel (6) to do focus work (normally under 40X objective lens), rise up the XY table until from the eyepiece can see the sample surface structure very clearly (note: Be careful, do not let sample touch with objective lens to avoid damage the lens)

7 From eyepiece can check clearly photo of sample surface structure, it means focus work is finish. Then press ‘Start’ key machine turret will automatically move to indenter position, automatically loading - Dwell - unloading, then turret automatic return to 40X objective lens position. From eyepiece will can find an indentation.
Note: If order eVIck-1000MT manual turret model, after under 40X lens focus well, then have manually switch the turret to indenter position, then press ‘Start’ key.

8 Turn on power source, inside the eyepiece can find two lines, system will require ZERO eyepiece when do measurement work of the first point testing.
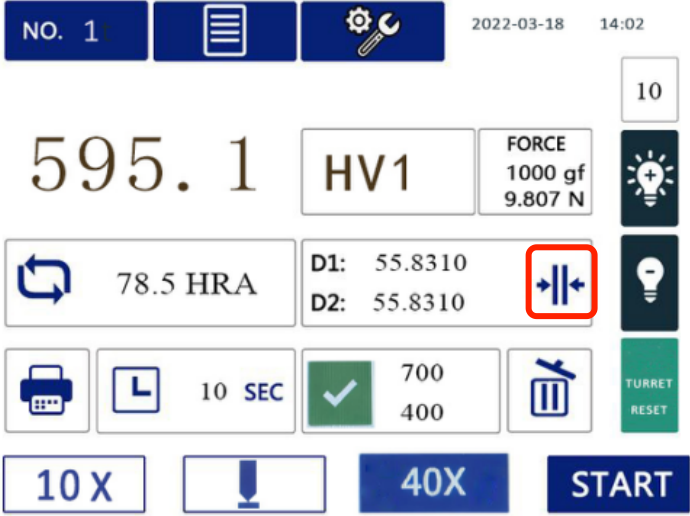
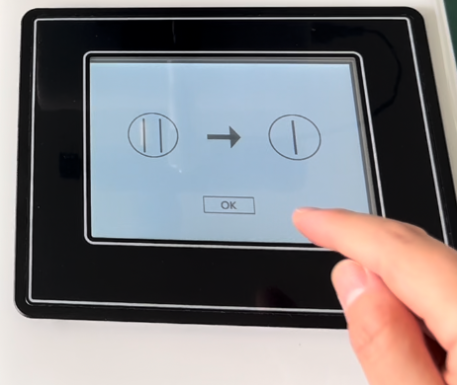
PS: After turn on power, only the first point testing have to do ZERO eyepiece work. Others testing can do measurement directly. Touch below photo red circle icon then will into ZERO eyepiece interface. Move the two lines which inside the eyepiece close together, then on screen press ‘OK’, the ZERO eyepiece work is finished. Then can do testing and measuring work directly. (Turn on power, first step do ZERO eyepiece work also ok, system require before measuring work have to do ZERO eyepiece work)


9 Measure D1 data
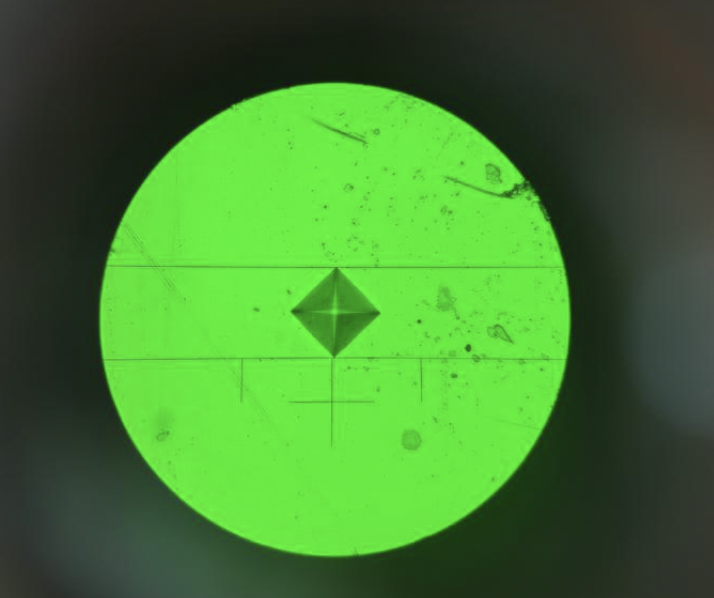
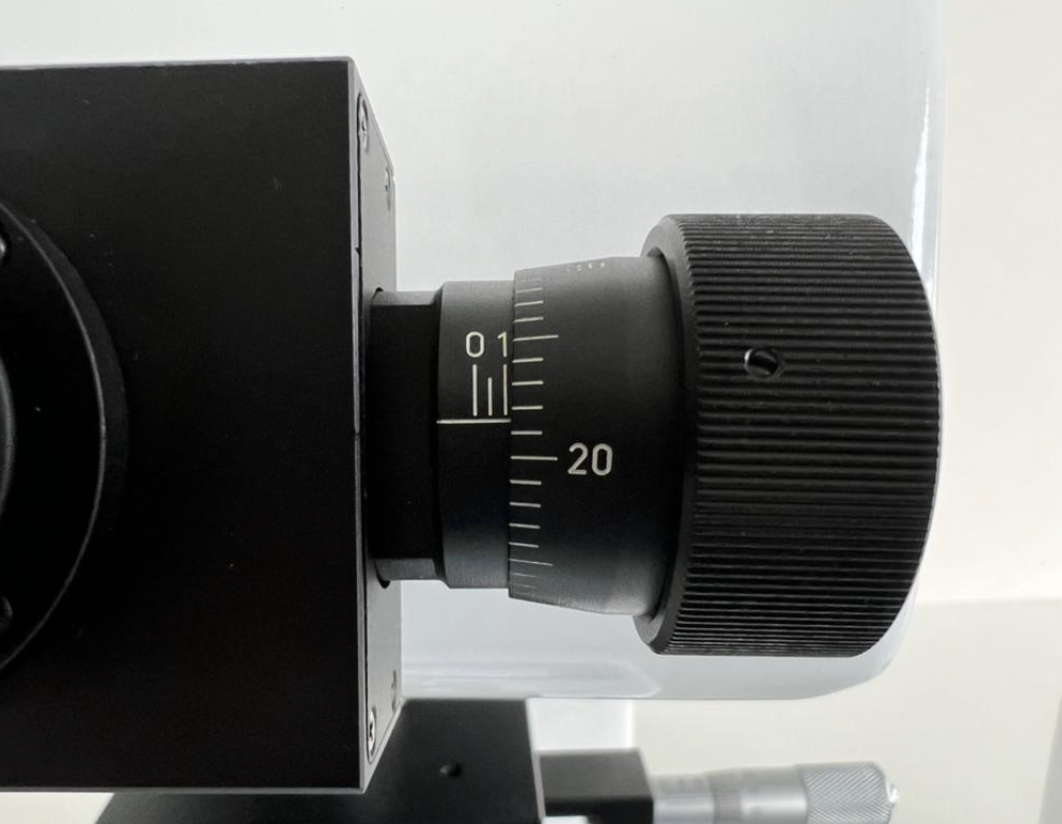
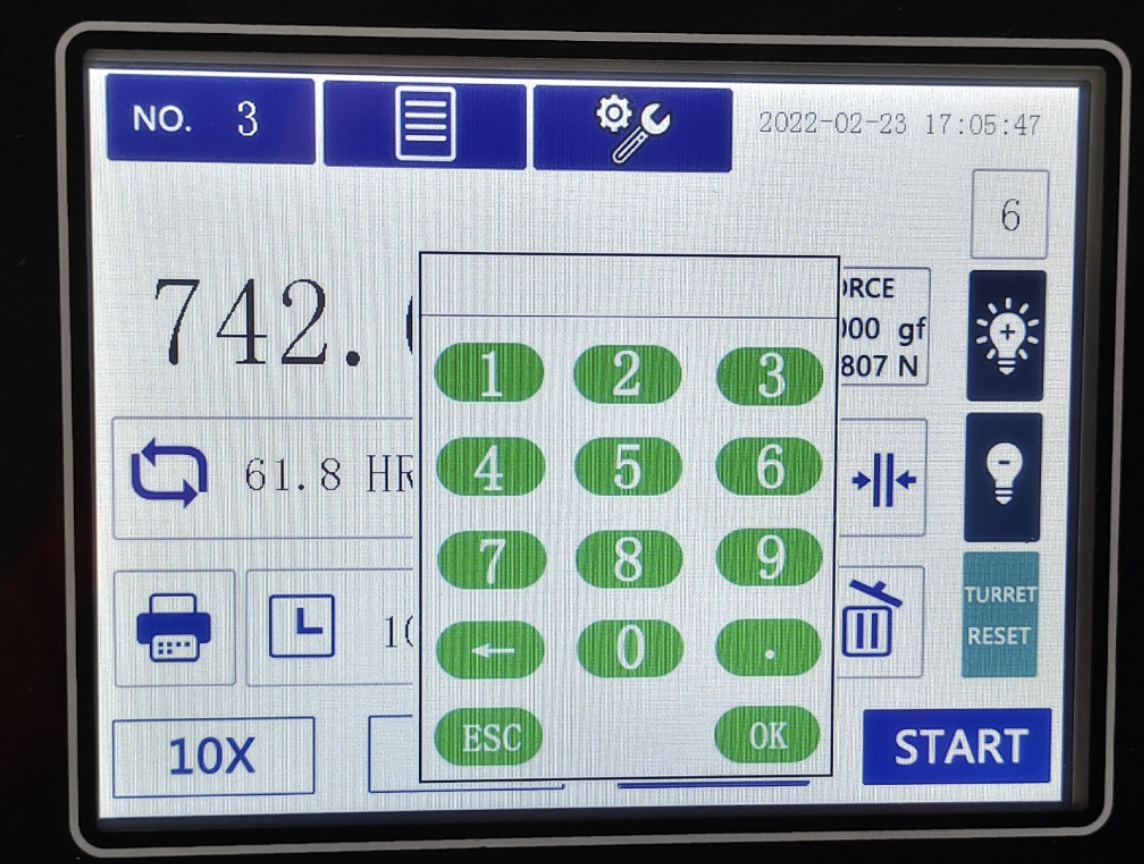
Keep eyepiece in horizontal, move eyepiece inside two lines touch with indentation two corners, then read data from eyepiece drum, then input data to screen, will get D1 length directly;


10 Measure D2 data
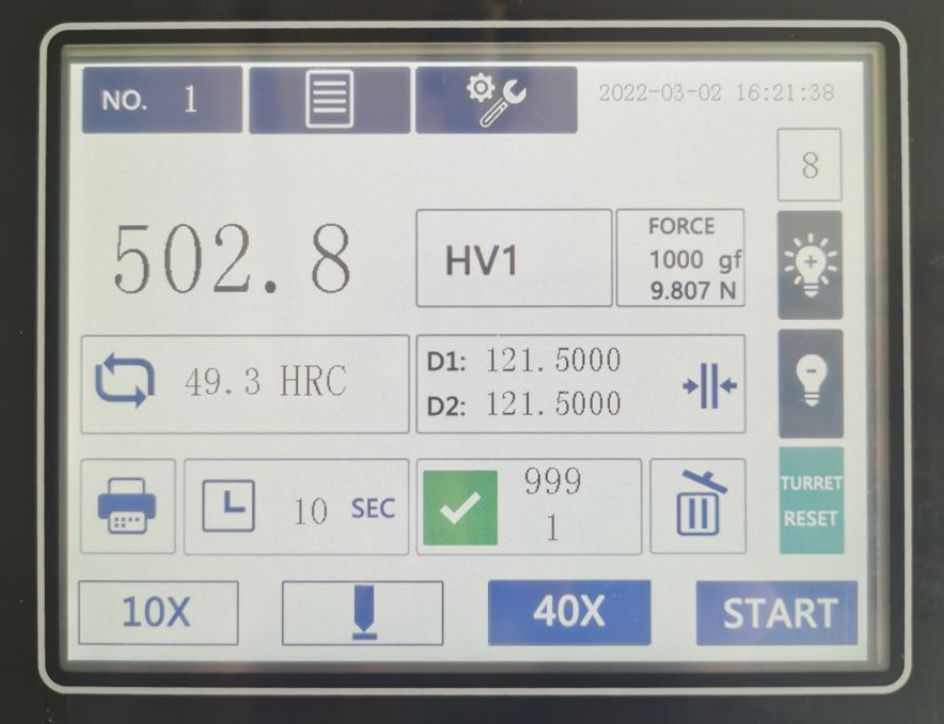
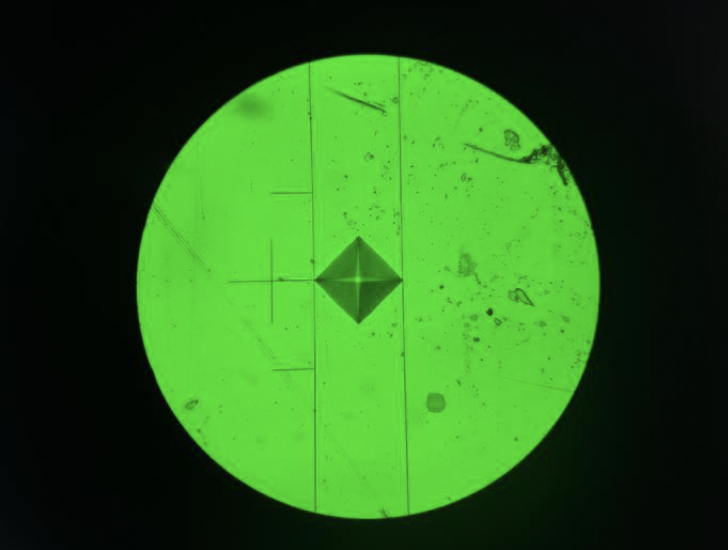
Keep eyepiece in vertical, move eyepiece inside two lines touch with indentation two corners, then read data from eyepiece drum, then input data to screen, will get D2 length directly, and same time screen will display HV hardness value and conversion hardness value (below photo 502.8HV1 is Vickers hardness value, 49.3HRC is conversion Rockwell hardness value)
