1. Introduction
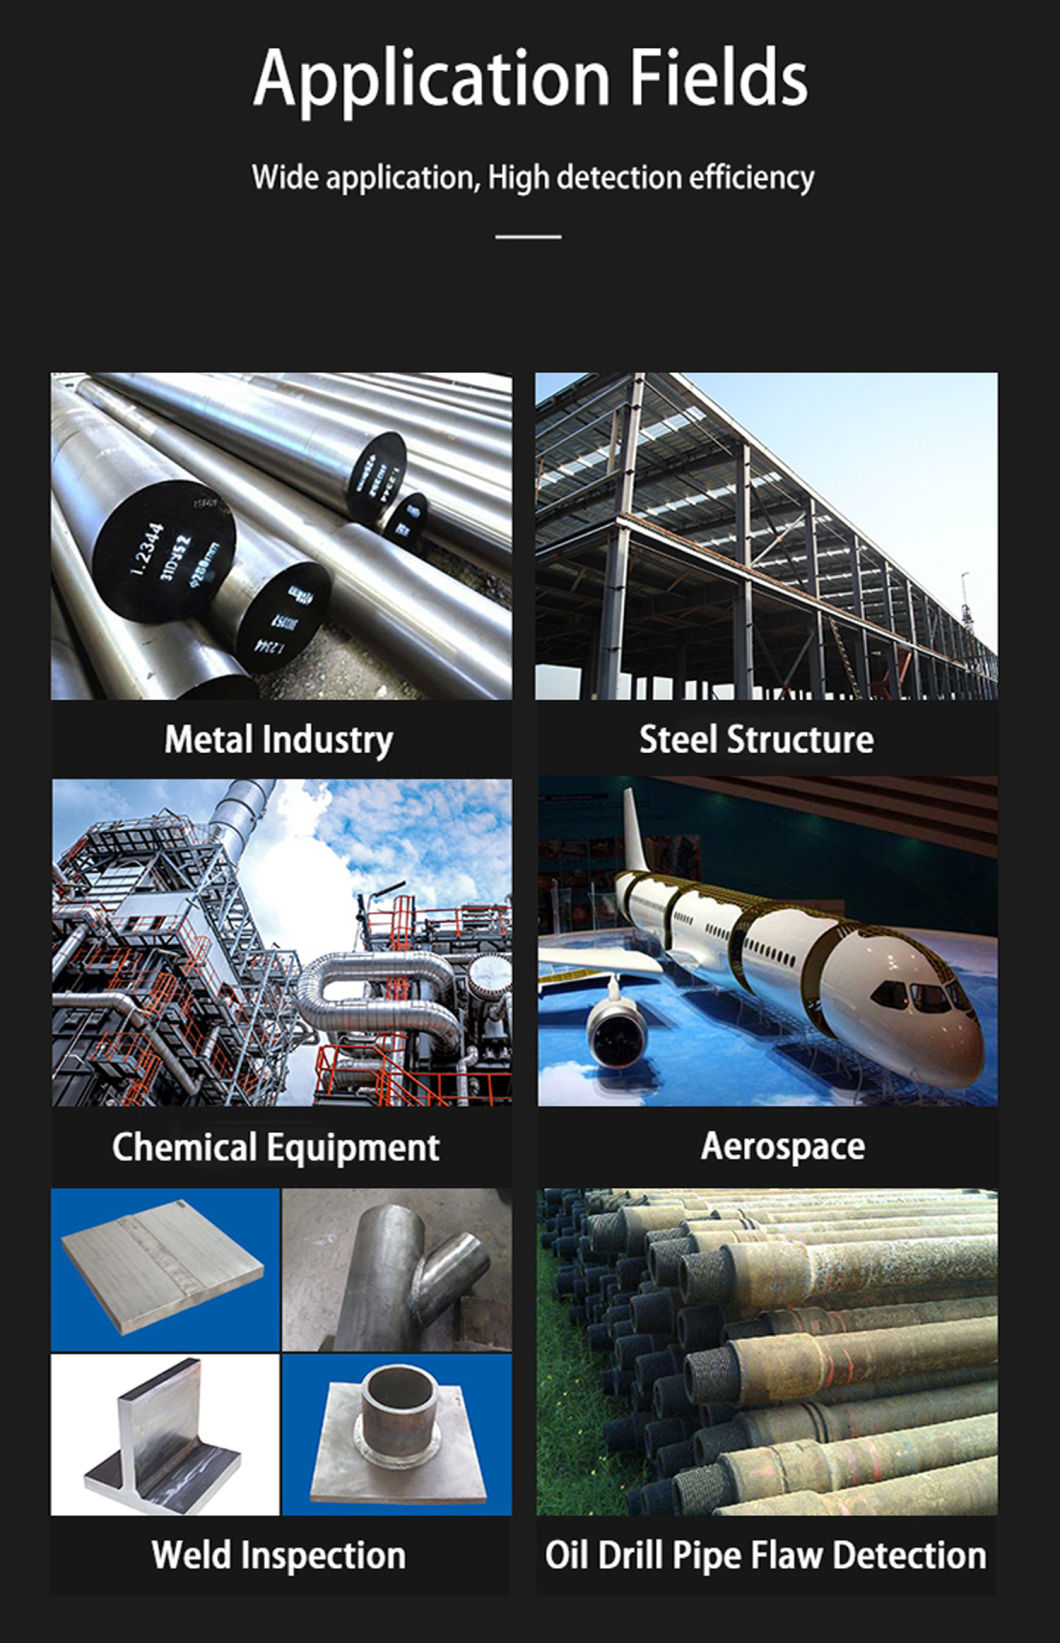
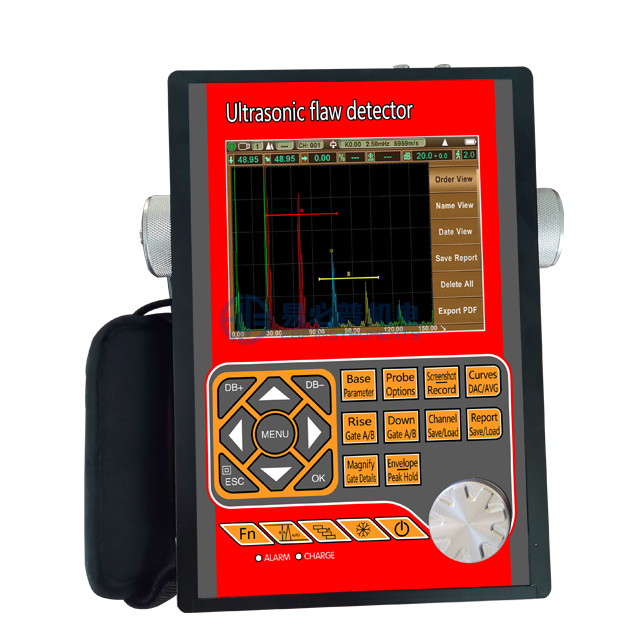
This instrument is a portable industrial digital ultrasonic flaw detector that can detect, locate, evaluate and diagnose various defects (cracks, inclusions, pores, etc.) in the workpiece quickly, conveniently, without damage, and accurately. It can be used both in the laboratory and on the engineering site. This instrument can be widely used in manufacturing, iron and steel metallurgy, metal processing, chemical industry and other fields that require defect detection and quality control. It is also widely used in online safety inspection and Life assessment in the fields of aerospace, railway transportation, boilers and pressure vessels, etc.
The instrument can be widely used in locating and sizing hidden cracks, voids, disbands, and similar discontinuities in welds, forgings, billets, axles, shafts, tanks and pressure vessels, turbines, and structural components.
2. Functions
2.1 Auto calibration: Automated calibration of probe zero offset, probe angle (K value) and material velocity.
2.2 Flaw Locating: Live display Sound-path, Projection (surface distance), Depth, Amplitude.
2.3 Flaw sizing: Automatic flaw sizing using AVG or DAC, speeds reporting of defect acceptance or rejection.
2.4 Digital Readout and Trig. Function: Thickness/Depth can be displayed in digital readout when using a normal probe and Surface Distance and Depth are directly displayed when angle probe is in use.
2.5 DAC/AVG: The curve is automatically generated, and the sampling points can be compensated and corrected. The curve automatically floats with the gain, automatically expands with the detection distance, and automatically moves with the delay time. It can display the AVG curve of any aperture.
2.6 AWS D1.1. Choosing this standard can reduce manual calculations and improve detection efficiency.
2.7 Curved Surface Correction feature.
2.8 Crack Height Measure function.
2.9 Gate Magnify: spreading of the gate range over the entire screen width.
2.10 Video Recording and playback.
2.11 Auto-gain function
2.12 Envelope: Simultaneous display of live A-scan at 60 Hz update rate and envelope of A-scan display
2.13 Peak Hold: Compare frozen peak waveforms to live A-Scans to easily interpret test results.
2.14 Peak mark: capture and mark the peak in real time
2.15 Echo coding: display 1~9 echo display area in different colors, used to analyze the defect position.
2.16 A Scan Freeze: Display freeze holds waveform and test distance data.
2.17 B Scan display feature. Intuitively display the defect shape of the workpiece and the detection result is more intuitive.
3. Technical Specification
Model | EFD-600 |
Measuring Range | 0 to 15000 mm, at steel velocity |
Pulse Repetition Frequency range | 20 Hz to 2000 Hz |
Material Velocity | 1000 to 20000m/s |
Dynamic range | >40dB |
System Linearity | Horizontal: +/-0.2% FSW, Vertical: 0.25% FSH, Amplifier Accuracy +/-1 dB |
Resolving Power | >40dB |
Sensitivity Leavings | >50dB(Deep 200mmФ2 flat-bottomed hole) |
Reject (suppression) | 0 to 80% full screen height |
Noise | less than10% |
Horizontal linear error | Within the scan range, not more than 0.2% |
Gate Monitors | Two independent gates controllable over entire sweep range |
Gain | 110 dB max in selectable resolution 0.1, 1.0, 2.0, 6.0 dB. |
Bandwidth (amplifier bandpass ) | 0.2 to 20 MHz |
Pulse Displacement | >32dB |
Display Delay | -20 to 3400 µs |
Probe Delay/Zero Offset | 0 to 99.99µs |
Test Modes | Pulse echo, dual element and thru-transmission |
Pulser | Tunable Wave Pulser |
Pulse Energy | 100V, 200V, 250V, 300V, 500V selectable |
Rectification | Positive half wave, negative half wave, full wave, RF |
Units | Inch or millimeter |
Transducer Connections | BNC or LEMO |
Power Requirements | AC Mains 100-240 VAC, 50-60 Hz |
Operating Temperature | -10℃ to 50℃, Storage Temperature: -30℃ to 50℃ |
4. Standard Configuration
| Name | QTY |
1 | EFD-600 Host | 1 |
2 | Straight Probe | 1 |
3 | Angle probe 4MHz | 1 |
4 | probe connecting cable | 2 |
5 | Power adaptor & cable | 1 |
6 | Communication Cable | 1 |
7 | Instruction manual | 1 |
8 | Software | 1 |
9 | Instrument case | 1 |
Optional Purchase Probes:
The probe price mainly depends on the crystal size. And the frequency can be chosen by yourself in the range of 0.2MHz - 10MHz. We can provide the general angles such as 30°,45°,60°,70°,80°
| Angle Beam Probe | 6×6,8×9,10×10, 13×13,14×16,18×18, 20×20,20×22, 30×30 | Straight Beam Probe (softfilm) | Φ6,Φ8,Φ10,Φ12, Φ14,Φ16,Φ20,Φ24, Φ25,Φ30 |
| Dual Element Beam Probe (Softfilm) | Φ8,Φ10,Φ12, Φ14,Φ20, Φ25,Φ30, | Immersion Probe | Φ10,Φ14, Φ20,Φ25 |
| Water filled Probe | Φ20,Φ25 | Small Angle Probe | Φ14,Φ20, Φ25,18×18 |
| Dual Element Straight Beam Probe (Softfilm) | 8×9,10×12 | Surface Wave Probe | 10X12 |
| Creeping Wave Probe | 8×12,6×6 | Small-diameter Probe | 5×5,5×7 |
| Plate Wave Probe | 20×30 | Variable Angle Probe | 10×10,10×12 |
